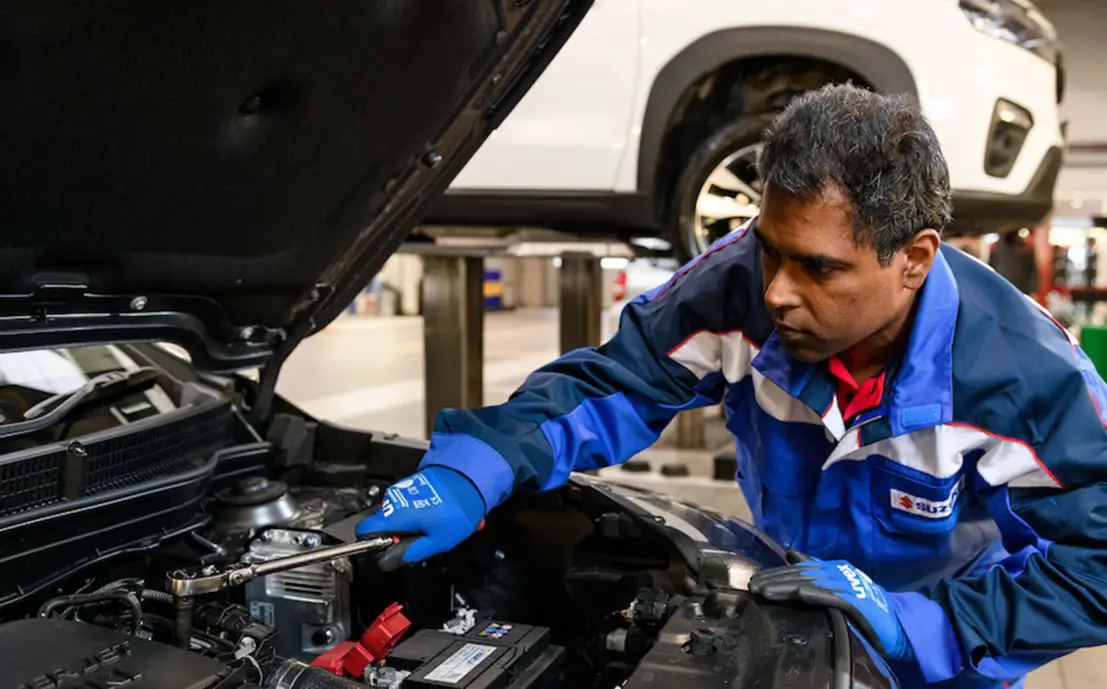

Many drivers have at one time or another experienced the need to jump start their cars. When the battery is dead and you have to get going, a jump start might be the only way to get it done, assuming that the main engine components are all otherwise working as they should.
Getting jumper cables and some help from a willing friend or even a nearby stranger isn’t usually a big problem, but something that a lot of people do wonder about is the weather. In particular, is it safe to perform a jump start when it’s raining outside? This is the core question of today’s blog.
Can You Jump Start a Car When It’s Raining?
The short answer to this question is yes, you can. However, there are some very important things to remember and some rules to follow. It’s logical to assume that it wouldn’t be possible since we are most of us programmed from a young age to associate any kind of water and moisture as something to be kept completely separate from anything electrical.
That’s still sound advice, but when it comes to jump starting your car, it can be done with care. One more important thing to remember is that while performing a jump start in the rain is acceptable, it is NOT acceptable in a thunderstorm. If you see lightning and hear thunder along with the rain, then do not attempt to perform a jump start.

Can You Jump a Car In the Rain? Before You Start
Besides equipping yourself with the appropriate rain gear and an umbrella to shield you and your car’s engine from the rain, there are 2 other big things to check and be sure about before you start trying to jump start your car:
1. Jumper Cables
Your jumper cables need to be in tip-top shape. When jumper cables get old, their layer of insulation starts to wear and become damaged. The insulation is there for a good reason, primarily to prevent short circuits from happening. When attempting a jump start in the rain, you need every bit of that protection you can get.
If rainwater hits old and worn jumper cables, there’s a higher chance that the water will get into the cables and at best cause a short circuit. So, check the cables for any signs of damage. The plastic insulation must be free of cuts, splits or fractures, and the clamps must feel firmly and solidly attached to the cable.
2. Protective Gear and Knowledge
You shouldn’t be short on any pieces of equipment that you would otherwise use when jump starting a car, and that especially includes protective gloves. You should also brush up on your battery and cable geography, making sure you are 100-percent confident where the positive and negative terminals are and in what order you’ll be attaching them (see below). Do not ever touch both battery terminals at the same time. If you need to brush up a little on your battery or jump start knowledge, check your car manual first to get exact model-specific information.
How to Jump a Car in the Rain – Step-by-Step Guide
Step 1: Bring the Cars as Close Together as Possible
Regardless of how long your cables are, try to get the two cars that you’ll be using as close together as possible. This minimizes the amount of cable that has to be exposed to the outside. If you have the cars close enough together, and stand in between with a large umbrella, you should be able to ensure virtually no water gets near the action.
Step 2: Turn Off All the Electrics
All electrics in the vehicles need to be turned off before you get started: lights, windshield wipers, fans and a/c, radio, etc. This isn’t for fear of some overload or something else going wrong, but rather that you don’t want any power being used up in the car while you’re performing the jump start. You want everything there in the battery.
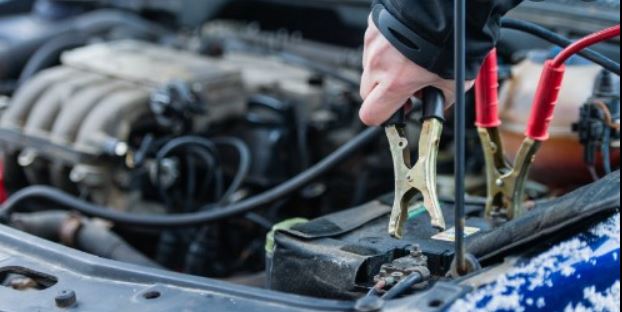
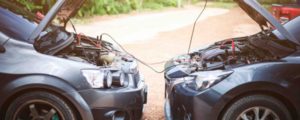
Step 3: Connect the Cables
This is the tricky bit, and the part that needs the most care of all. Your car battery, like all others, should have 2 terminals, one of them red and the other black. Your jumper cables should also be red and black. While you shouldn’t connect both clamps at the same time, you should hold on to them nonetheless to prevent either of them from touching anything metal.
First, connect the red positive cable to the red positive terminal on the GOOD battery, then attach the other red cable to the red terminal on the DEAD battery. Next, connect the black negative cable to the black negative terminal on the GOOD battery, but do NOT attach the other clamp to the dead battery. Attach it instead to a different metal component that’s not close to the battery. Keeping it away will prevent any sparks from flying or hydrogen gas being released.
Do not at any point allow the cables to become cross connected. Connecting red to black will cause a short circuit, and be very problematic for all concerned.
Step 4: Start the Working Car, and then the Dead Car
After you’ve waited 2-3 minutes, start the car with the good battery first and let it idle for a couple of minutes. The idling period should allow enough of a small charge to be transferred over to the dead battery to allow you to start it. After waiting 2-3 minutes, start the dead battery car, and it should come to life fairly easily.
Step 5: Disconnect the Cables
Disconnecting the cables also has to happen in the correct order, namely the black negative cable first, then the red positive cables. Be sure that the clamps don’t touch anything metal as you remove them.
Step 6: Idle and Drive
Once you’ve got your car started up, you can let it idle for a little while and/or drive it around for at least 20-30 minutes to restore charge to the battery. After that, you can be sure that you can leave the battery overnight until you can start up and complete any remaining charge the next day.
Go Home